Steps to create your Avatar on Facebook: Facebook recently launched Bitmoji or Memoji-like Facebook Avatars, and users are busy creating them and sharing them. Your Facebook Avatar can’t be found? This post will help you to create your Facebook Avatar.
Were you aware of the adorable Bitmoji-like avatars in all your feed on Facebook? The Facebook enters the famous emoji version captures your appearance and makes you more fun online.
These big, customizable emoticon stickers are perfect for all things from your Facebook profile, to chatting in Messenger, commenting, and sharing.
You can use your Avatar on the desktop, mobile, iPad, or any other tablet once you design it on your Facebook App. Can’t you wait to get started? Follow the below steps to get started.
Steps to create your Avatar on Facebook
Step 1: Open Facebook App and Tap on Three lines
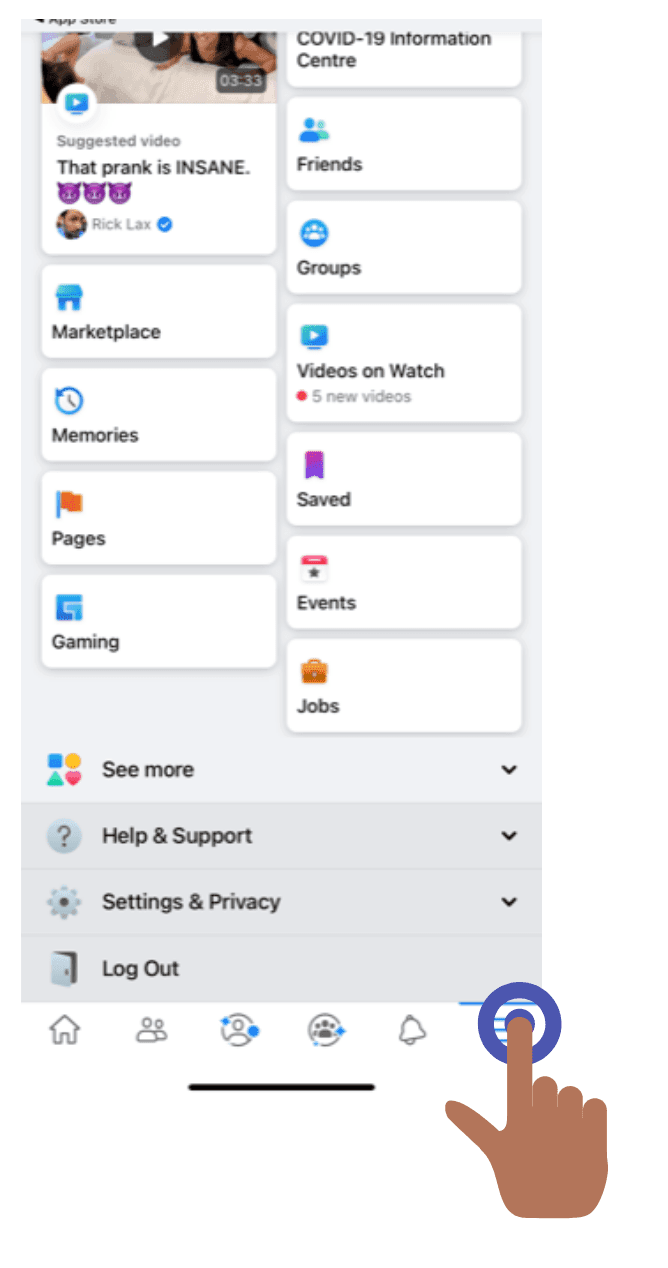
Open your iOS or Android phone’s Facebook mobile app. Tap on the three horizontal lines in your Facebook’s lower right corner.
Step 2: Tap on “See More”
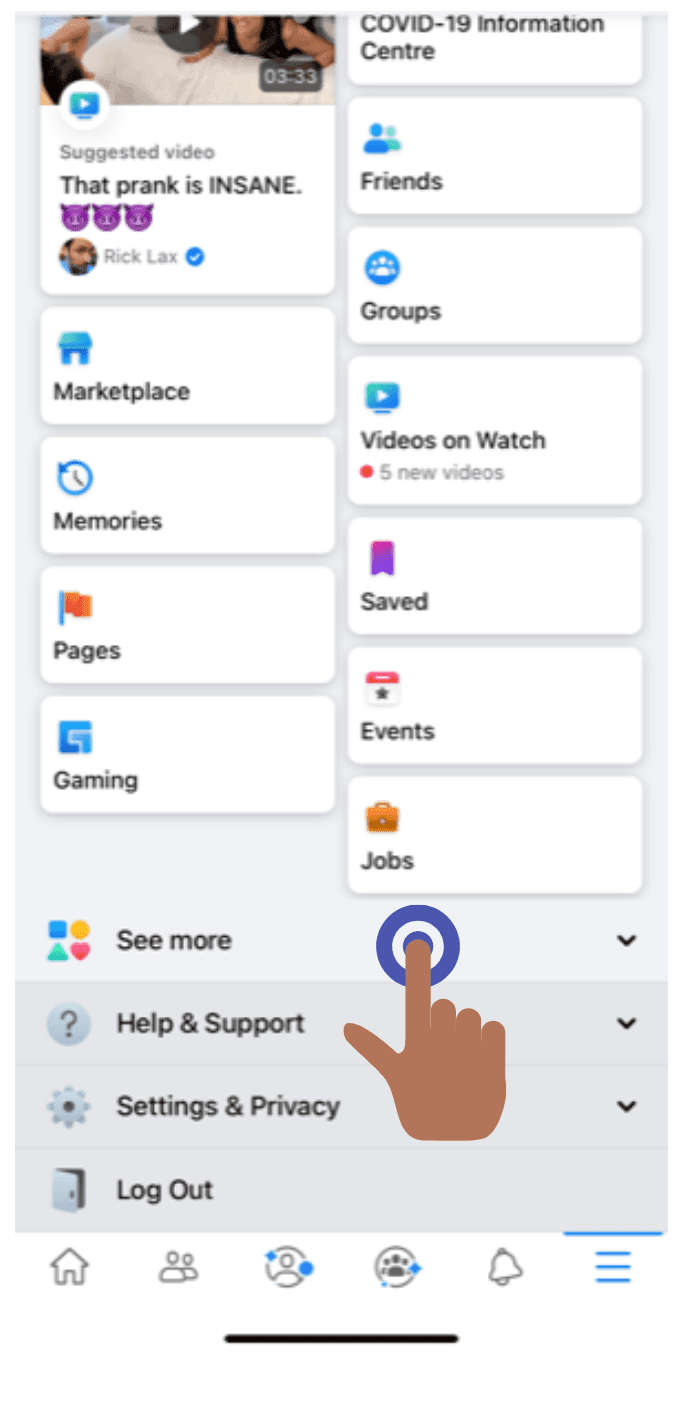
A tab ought to slide from the right side. Tap “See More.” scroll down.
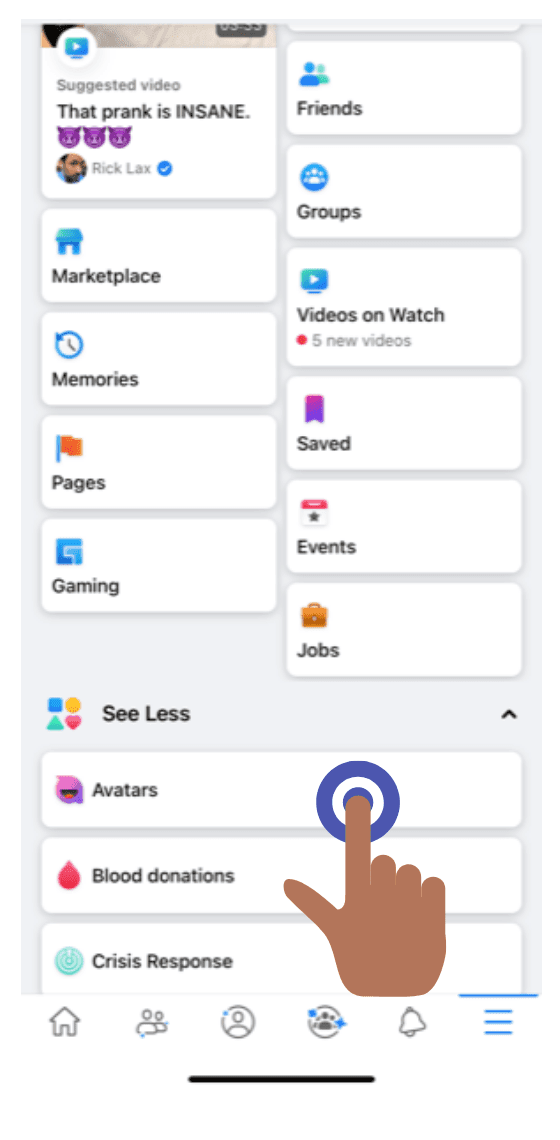
Step 3: In “See More – which says ‘Avatars,’ tap on that option.
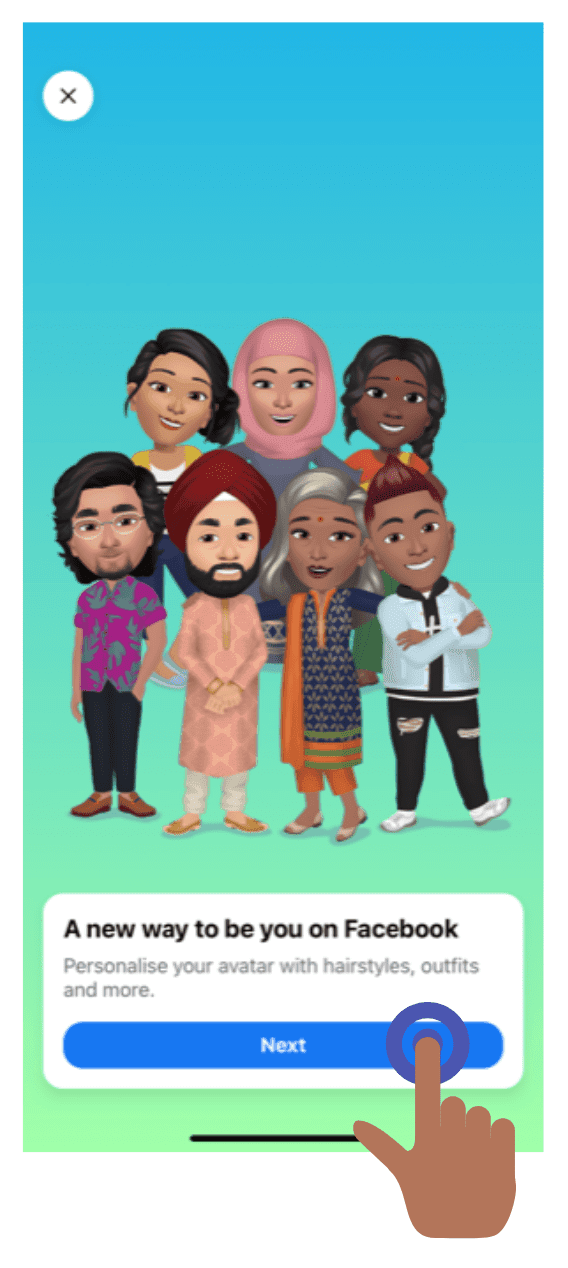
Step 4: To customize your Avatar, Select “Next”
A green-blue gradient screen with the example avatars is supposed to pop up! Click on the Next’ and ‘Start’ buttons.
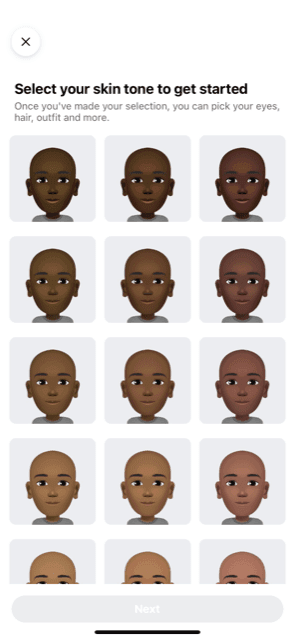
Step 5: Choose a tone for the skin and click “Next” if you’re ready.
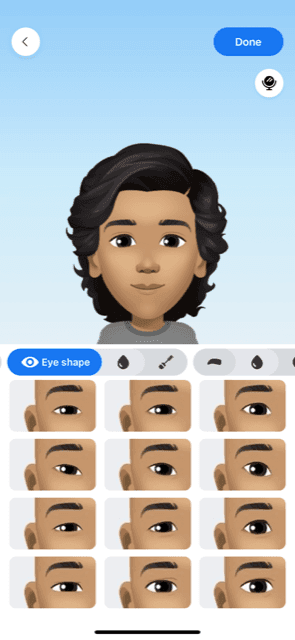
Step 6: You also can personalize your avatar further!
Choose a hairstyle, facial form, eyebrows, color of an eye, make-up, type of skin, facial hair, body shape, outfit, etc. You may also incorporate hair accessories and scratches.
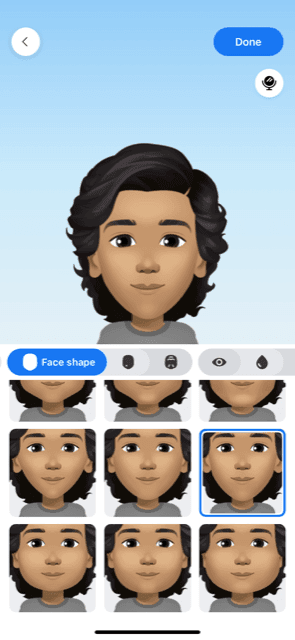
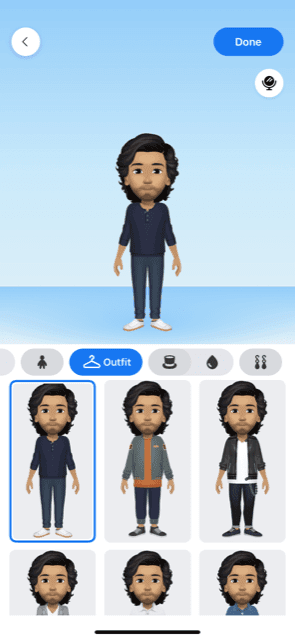
Step 7: This is your Facebook Avatar
Tap the checkmark on the upper right corner of your screen when you are finished with your avatar’s appearance. You can tap “Next” on the second screen when your avatar is loaded.
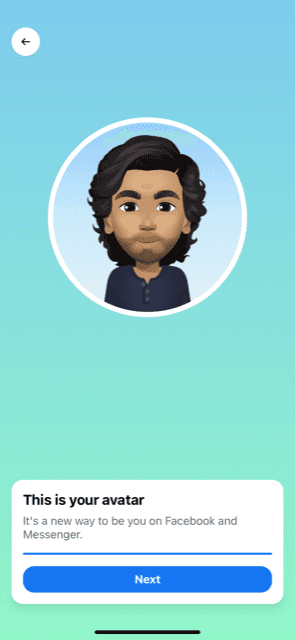
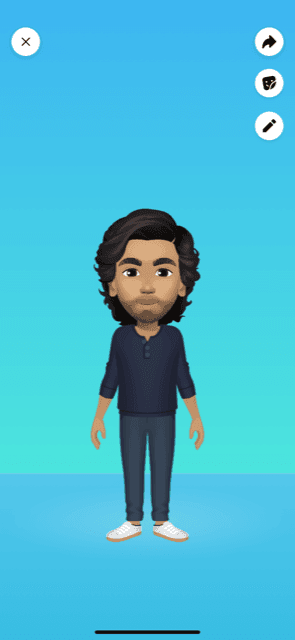
Step 8: You are all ready to start using avatar on Facebook now!
Three icons in the upper right corner can be seen on your phone.
1: Allow you to share or build a new profile of your avatar on your Facebook feed.
2: You can use all the stickers on your newly generated avatar on the central button, and the lower button can
3: Edit your avatar.
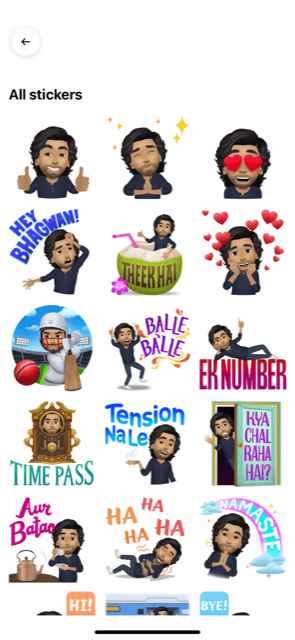
Step 9: You can use your Facebook Avatar in Comments.
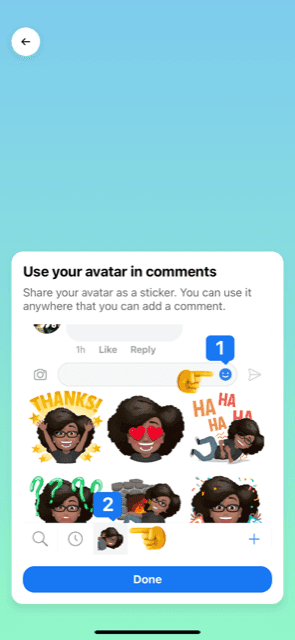
That’s it! All Done!

Also Read:

